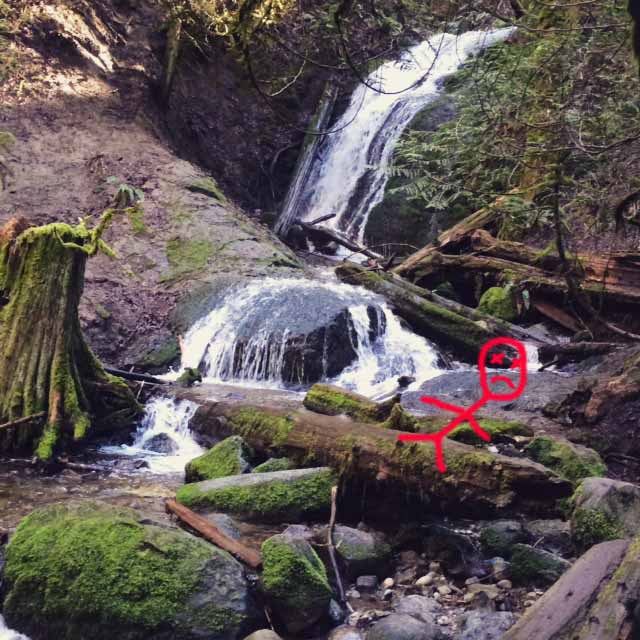
I look quite similar to this during my workouts. I’ve been known to fall off gym equipment due to clumsiness.
I sweat. A lot. I come home from the gym smelling like a teenage boy. No, not because I’ve been making out with one at the gym, but because teenage boys are stinky. Geesh. Perverts.
I used to rely on scented detergents and dryer sheets to help clean and mask the smells that lingered in my gym shirts and mom-style yoga pants that come to my bellybutton to hold in my muffin top. But we haven’t used scented detergent since the Finn kids have sensitive skin. (The Lord blessed me with pale, pasty kids that require copious amounts of sunscreen AND super-duper sensitive skin.)
I’ve been meaning to give up dryer sheets, but missed the manufactured chemical-laden scent they gave my stanky clothes. Who doesn’t want to smell “Mountain Fresh” or like a “Spring Breeze”?
But as my crunchiness level has increased since my move to Seattle, I’m proud to say I’ve finally ditched those bad boys and found a new love. Meet my wool dryer balls! Who doesn’t love a fluffy, useful pair of balls?! (That’s what he said).
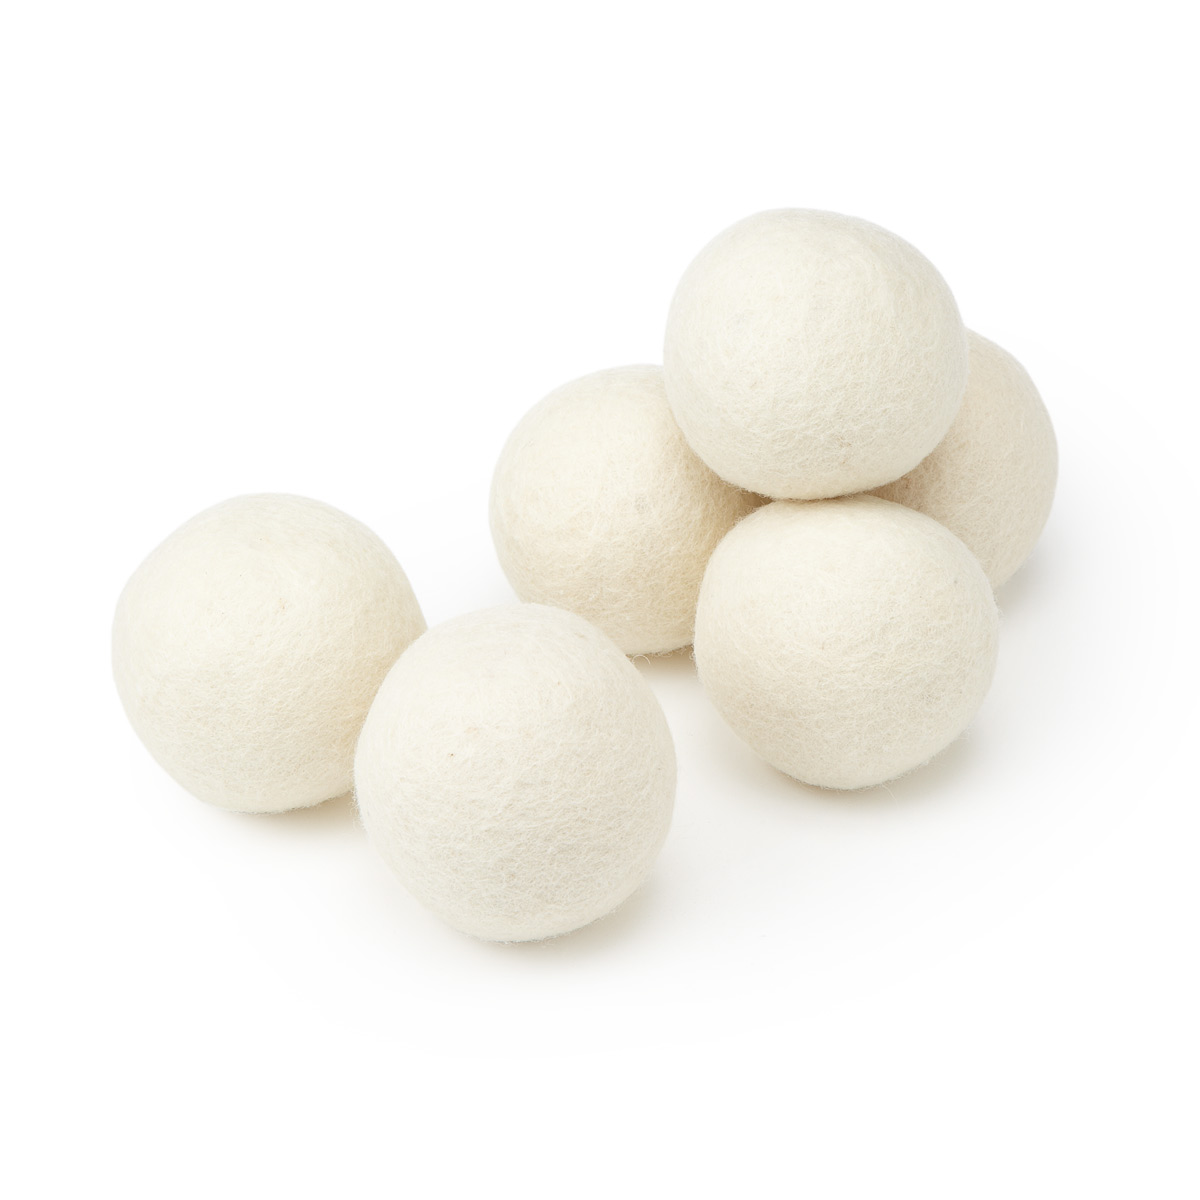
Wool dryer balls come in a variety of sizes.
I bought these balls, but there’s several varieties. (These jokes could go on and on.) I tried plastic dryer balls a few years ago, but they were noisy, got tangled in the sleeves of shirts or pant legs, and wore out quickly. But wool dryer balls are quieter, larger in size, and last for years. Best of all they’re all natural.
The dryer balls work by separating clothing, absorbing water from wet clothes, and increasing air circulation. They can cut drying time by 25%, which will save electricity and money.

Add a few drops of oil to the dryer balls before tossing them in the dryer. Everyone loves oily balls!
Who cares if the wool balls gets my clothes naturally soft if they still have the gym stank? To combat the funk, I add a few drop of essential oils to the balls before throwing them in the dryer. Young Living’s Purification blend is my favorite. It eliminates odors and leaves my laundry with a clean, fresh scent. I also like lavender and Joy blend. Bam! Naturally soft and naturally scented, funk-free laundry.
Do any of you use dryer balls? How many ball jokes did you count?